
How to design living walls in Iowa: 50% less failure rate
Indoor living walls transform bland walls into vibrant vertical gardens, but many installations fail due to poor plant selection, causing over 50% failure rate. Iowa’s indoor climates present unique challenges including variable humidity, limited natural light, and moderate temperatures that demand careful species selection and maintenance planning. This guide walks you through the complete process from preparation to installation and maintenance, helping you create thriving living walls that enhance aesthetics and improve indoor air quality.
Table of Contents
- Introduction To Living Walls And Their Benefits
- Prerequisites And Preparation Before You Start
- Step-By-Step Living Wall Design And Installation Process
- Maintenance And Troubleshooting Common Problems
- Expected Outcomes, Costs, And Timeline
- Enhance Your Iowa Indoor Spaces With Trendy Gardener Living Walls
- Frequently Asked Questions
Key takeaways
| Point | Details |
|---|---|
| Air quality improvement | Living walls reduce indoor volatile organic compounds by up to 60%, creating healthier indoor environments. |
| Critical design factors | Waterproofing, appropriate lighting, and Iowa-adapted plant species selection determine success or failure. |
| Automated irrigation advantage | Systems with moisture sensors boost plant survival from 60% to 84% compared to manual watering. |
| Maintenance requirements | Weekly inspections prevent mold, pests, and plant loss that compromise wall integrity. |
| Investment expectations | Professional installations cost $100 to $300 per square foot with full maturation in 6 to 12 months. |
Introduction to living walls and their benefits
Living walls are vertical garden systems featuring live plants grown on interior wall surfaces. These installations use specialized mounting frameworks, growing media, and irrigation systems to create green focal points in homes and commercial spaces. Three primary types work well indoors: panel systems with pre-planted modular units, pocket systems with individual fabric planters, and modular trays that allow customized arrangements.
The benefits extend beyond visual appeal. Indoor living walls reduce airborne volatile organic compounds by up to 60%, directly improving indoor air quality. Plants naturally filter toxins like formaldehyde, benzene, and trichloroethylene commonly found in building materials and furnishings. This air purification supports occupant wellbeing by reducing headaches, improving focus, and lowering stress levels.
Iowa indoor environments present specific design considerations:
- Moderate year-round temperatures averaging 68 to 72°F indoors
- Variable humidity levels that can drop below 30% in winter
- Limited natural light in north-facing rooms or spaces without large windows
- Seasonal variations affecting indoor climate stability
These factors make species selection and environmental controls critical. You cannot simply transplant outdoor garden designs indoors and expect success. Living walls for Iowa homes and offices require plants adapted to lower light conditions, consistent moisture delivery, and temperature stability.
“The right plant in the right place makes all the difference. Indoor living walls fail when designers ignore the fundamental needs of the species they select.”
Commercial properties gain additional advantages including enhanced brand perception, improved employee satisfaction, and differentiation in competitive markets. Residential installations create spa-like atmospheres that increase property value and personal enjoyment.
Prerequisites and preparation before you start
Proper waterproofing and structural support prevent water damage that can cost thousands in repairs. Begin by assessing your wall’s load-bearing capacity. A fully planted and watered living wall weighs 15 to 30 pounds per square foot depending on system design and saturation levels.
Waterproofing represents the most critical installation phase. Apply professional-grade waterproof membranes directly to wall surfaces before mounting any frameworks. Use products rated for continuous moisture exposure, not standard paint-on sealers. Install drip trays or drainage systems at the base to capture excess water and prevent floor damage.
| Preparation Element | Requirement | Why It Matters |
|---|---|---|
| Wall assessment | Load capacity 20+ lbs/sq ft | Prevents structural failure |
| Waterproofing | Commercial-grade membrane | Stops mold and water damage |
| Lighting evaluation | 200-400 foot-candles minimum | Ensures photosynthesis |
| Humidity control | 40-60% relative humidity | Prevents stress and disease |
| Irrigation planning | Automated drip system | Consistent moisture delivery |
Lighting determines which plants will thrive. Measure existing light levels with a light meter or smartphone app. Most indoor spaces provide 50 to 200 foot-candles, while plants need 200 to 400 for healthy growth. Supplement natural light with full-spectrum LED grow lights positioned 12 to 18 inches from plant surfaces.
Gather essential materials before starting:
- Waterproof membrane sheets and sealing tape
- Corrosion-resistant mounting brackets and frames
- Lightweight growing medium formulated for vertical applications
- Drip irrigation tubing, emitters, and timer
- Moisture sensors for automated monitoring
- Hand tools including drill, level, and utility knife
Plant selection for Iowa indoor walls should prioritize species proven successful in low to moderate light conditions. Pothos, philodendrons, ferns, and spider plants adapt well to indoor environments and tolerate occasional maintenance lapses.
Pro Tip: Test your waterproofing by spraying the sealed wall heavily with water and checking behind the membrane after 24 hours. Any moisture penetration indicates inadequate sealing that will cause problems later.
Humidity control may require adding humidifiers in winter months when heating systems dry indoor air. Target 50% relative humidity for optimal plant health. Too low causes leaf browning and stress; too high promotes fungal diseases.
Step-by-step living wall design and installation process
Follow this systematic approach to build a healthy, long-lasting living wall:
-
Prepare the wall surface. Clean thoroughly to remove dust, grease, and loose paint. Apply waterproof membrane in overlapping sheets, sealing all seams with waterproof tape. Allow 24 hours curing time before proceeding.
-
Install the mounting framework. Attach corrosion-resistant brackets to wall studs using appropriate hardware for your wall type. Mount the main frame ensuring it’s level and securely fastened. Leave a 1-inch gap between frame and waterproof membrane for air circulation.
-
Set up the irrigation system. Install a main water line connected to a timer and pressure regulator. Run drip tubing through the framework with emitters positioned near each planting pocket. Automated systems with moisture sensors adjust watering based on actual plant needs, improving survival rates significantly.
-
Add growing medium and plants. Fill planting pockets with lightweight, well-draining soil mix. Remove plants from nursery containers, loosen root balls gently, and position them in pockets. Ensure proper spacing for mature plant sizes, typically 6 to 12 inches between specimens.
-
Complete initial setup. Water thoroughly by hand to settle soil around roots. Program irrigation timer for short, frequent watering cycles. Monitor closely for the first two weeks, adjusting as plants acclimate.
| Irrigation Method | Survival Rate | Maintenance Time | Water Efficiency | Cost |
|---|---|---|---|---|
| Manual watering | 60% | 2-3 hrs/week | Low (30-40% waste) | Low |
| Automated drip | 84% | 30 min/week | High (90% efficiency) | Medium |
| Smart sensors | 90%+ | 15 min/week | Very high (95%+) | High |
Compare living wall systems to choose the right approach for your space and budget. Panel systems install faster but offer less flexibility. Pocket systems allow easy plant replacement but require more frequent watering checks.
Common installation mistakes include:
- Overcrowding plants, leading to competition and poor growth
- Inadequate waterproofing that causes hidden water damage
- Placing high-light plants in low-light locations
- Using outdoor potting soil that’s too heavy for vertical applications
Pro Tip: Start with fewer plants than the wall can hold and add more as you gain confidence. It’s easier to expand a successful installation than fix an overplanted failure.
Recirculating systems collect runoff water and pump it back to the top, reducing water consumption by 70% compared to single-pass designs. These work especially well for larger commercial installations where water costs add up quickly.
Maintenance and troubleshooting common problems
Regular maintenance reduces plant loss and prevents water damage. Establish a consistent routine to catch problems early when they’re easiest to fix.
Weekly maintenance tasks include:
- Inspect irrigation system operation, checking for clogged emitters or leaks
- Remove dead or yellowing leaves to prevent disease spread
- Look for pest signs including webbing, sticky residue, or visible insects
- Check soil moisture levels manually, even with automated systems
- Rotate or adjust grow lights if growth appears uneven
Water damage prevention requires vigilance. Inspect waterproofing integrity monthly, looking for discoloration, soft spots, or musty odors behind the wall. Adjust irrigation duration if you notice water pooling in drip trays or excessive runoff. Overwatering causes more problems than underwatering in living walls.
Mold appears when humidity exceeds 70% combined with poor air circulation. Combat this by:
- Installing small fans to improve airflow around plants
- Reducing watering frequency slightly
- Treating affected areas with hydrogen peroxide solution
- Ensuring proper spacing between plants for air movement
Replace failed plants immediately to maintain full coverage and prevent gaps from disrupting the visual effect. Keep backup plants on hand for quick replacements. Most living walls need 10 to 15% plant replacement annually even with excellent care.
Early pest detection saves entire installations. Spider mites show as fine webbing and stippled leaves. Scale insects appear as brown bumps on stems. Treat promptly with insecticidal soap or neem oil, repeating weekly until eliminated.
Nutrient deficiencies manifest as:
- Yellow leaves with green veins indicating iron deficiency
- Overall pale color suggesting nitrogen shortage
- Brown leaf edges from potassium or calcium deficiency
Apply diluted liquid fertilizer monthly during growing seasons, reducing to quarterly in winter. Use formulations designed for foliage plants with higher nitrogen ratios.
Pro Tip: Take photos of your living wall monthly to track changes over time. Gradual decline often goes unnoticed day to day but becomes obvious when comparing images from different months.
Uneven growth typically results from lighting variations or irrigation inconsistencies. Professional plant maintenance programs include regular trimming, fertilization, and problem diagnosis to keep walls looking their best year-round.
Expected outcomes, costs, and timeline
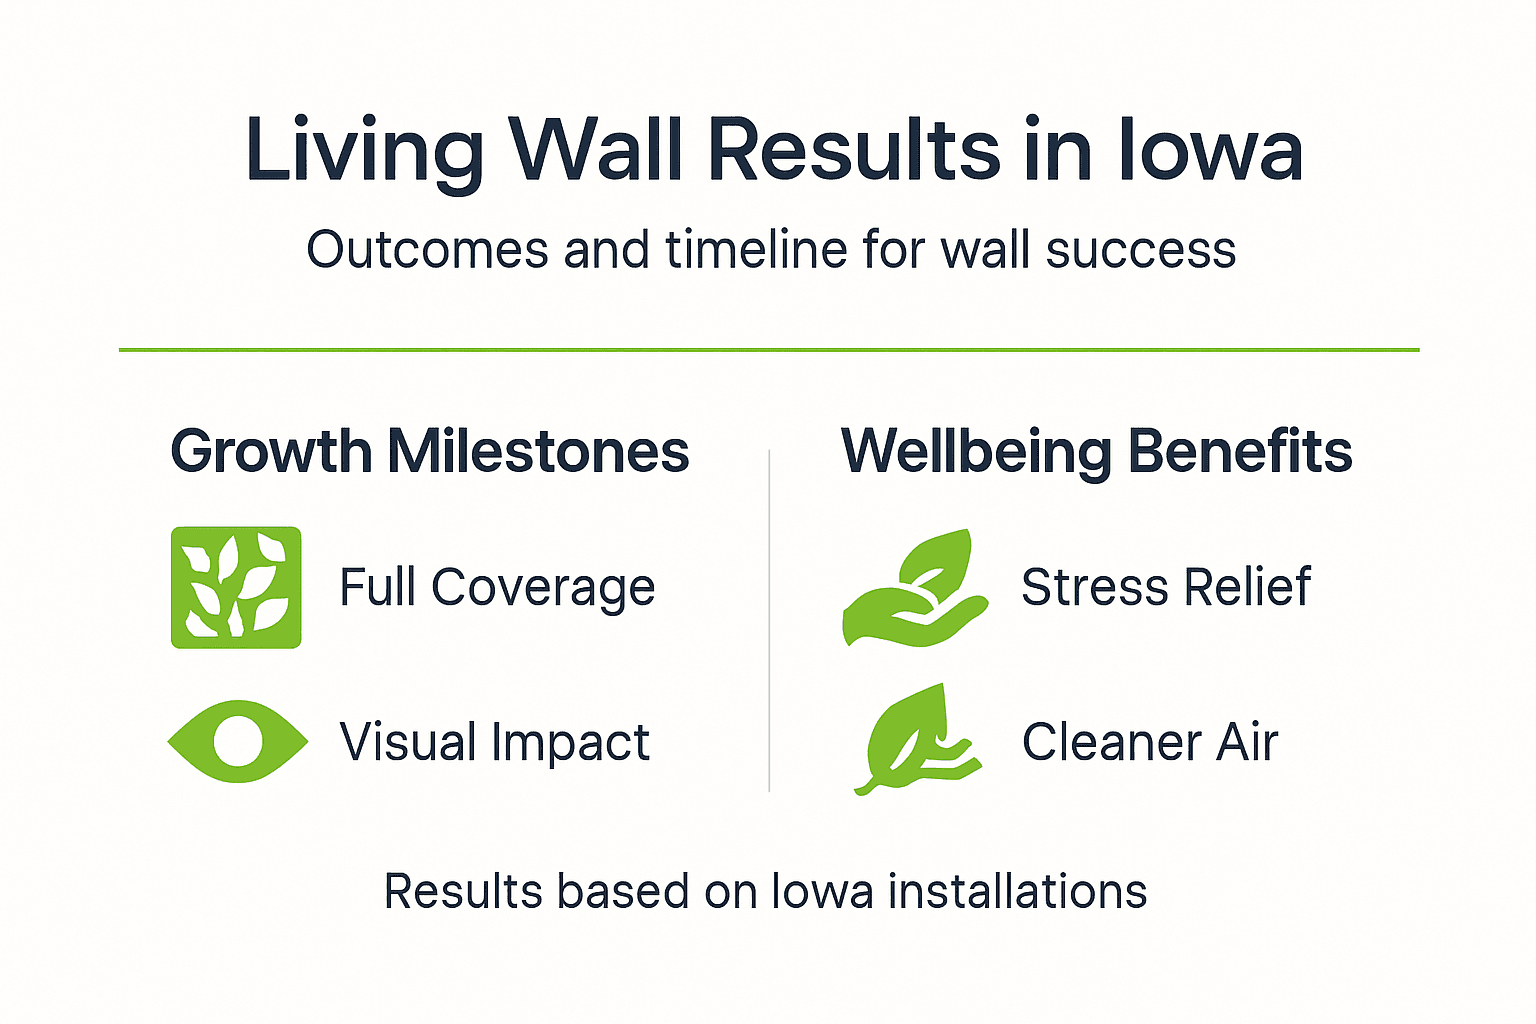
Healthy living walls reach full coverage and mature appearance within 6 to 12 months after installation. Initial growth appears sparse as plants establish root systems, but coverage fills in steadily with proper care. Expect the most dramatic visual improvement during months 3 through 6.
Professional living wall installations cost $100 to $300 per square foot depending on system complexity, plant selection, and irrigation sophistication. A typical 8-foot by 6-foot installation (48 square feet) runs $4,800 to $14,400 including materials, labor, and initial plants. DIY installations reduce costs by 40 to 50% but require significant time investment and carry higher failure risk.
| Project Phase | Timeline | Cost Range | Key Deliverables |
|---|---|---|---|
| Planning & design | 1-2 weeks | $500-$2,000 | Site assessment, species selection |
| Materials procurement | 1-2 weeks | $2,000-$6,000 | Frame, irrigation, waterproofing |
| Installation | 2-5 days | $1,500-$4,000 | Complete wall setup |
| Plant establishment | 3-6 months | $200-$800 | Initial care, adjustments |
| Maturation | 6-12 months | Ongoing | Full coverage achieved |
Air quality benefits become measurable within weeks. Indoor air quality monitors track volatile organic compound reductions, typically showing 30 to 40% improvement after one month and 50 to 60% improvement after three months with sufficient plant density.
Aesthetic benefits appear immediately but improve continuously. Fresh installations look intentional and designed even before plants fill in completely. Mature walls create dramatic focal points that elevate entire rooms.
Wellbeing improvements show up in occupant surveys. Commercial spaces report 15 to 25% reductions in employee stress levels and 10 to 15% improvements in focus and productivity. Residential owners describe enhanced relaxation and satisfaction with their living environments.
Ongoing maintenance costs average $50 to $150 monthly for professional care, or 2 to 4 hours monthly for capable DIY maintenance. Budget for annual plant replacements ($200 to $600), periodic nutrient supplementation ($100 to $200), and occasional system adjustments.
Enhance your Iowa indoor spaces with Trendy Gardener living walls
After understanding the design and maintenance essentials, explore professional solutions that simplify your living wall project. Trendy Gardener specializes in custom living walls that deliver cleaner air and reduced stress while enhancing Iowa indoor environments with proven biophilic design principles.
Our systems feature automated irrigation with moisture sensors, professional-grade waterproofing, and plant selections optimized for Iowa’s indoor climates. Choose from wall-mounted systems perfect for residential spaces or recirculating designs ideal for larger commercial installations. Each solution includes expert installation guidance and ongoing care programs that keep your living wall thriving effortlessly. Transform your space with greenery that looks exceptional from day one and stays that way.
Frequently asked questions
What lighting conditions work best for indoor living walls in Iowa?
Indirect natural light from east or west-facing windows provides ideal conditions. Supplement with full-spectrum LED grow lights delivering 200 to 400 foot-candles for 12 to 14 hours daily when natural light falls short.
How often should I check the irrigation system?
Inspect weekly during the first three months to ensure proper moisture distribution and catch potential issues early. After establishment, biweekly checks suffice unless you notice plant stress signals.
Can I install a living wall myself or should I hire professionals?
Basic installations work for confident DIYers with proper preparation. However, professional installation ensures correct waterproofing and irrigation setup, preventing costly water damage that often exceeds installation savings.
What plants thrive in low-light commercial spaces?
Pothos varieties, snake plants, ZZ plants, and certain fern species tolerate low light conditions successfully. Select species adapted to Iowa indoor environments for best results with minimal supplemental lighting.
How do I prevent mold and water damage?
Install commercial-grade waterproof membranes before mounting systems and avoid overwatering by using automated irrigation with moisture sensors. Maintain 40 to 60% humidity and ensure adequate air circulation around plants.